So, You Want to Plan Your High School Reunion…

Last year it dawned on me that our 20 year anniversary from graduating high school was around the corner. I reached out to a few people who helped plan the 10 year reunion to see if anything was in the works yet and there wasn’t. Timing was perfect— I was working part time and had a flexible schedule, not to mention I LOVE planning parties! So right out of the gate I was gung-ho and excited!
I decided to put together a resource to help others who are contemplating planning their reunion too!
Here’s some advice based off my experience and what I did to plan an epic high school reunion with the help from my high school friends…who now I just call my friends.

First order of business: create a Facebook page for your graduating class.
This is important to set up early! If you’ve never set up a group page before see below:
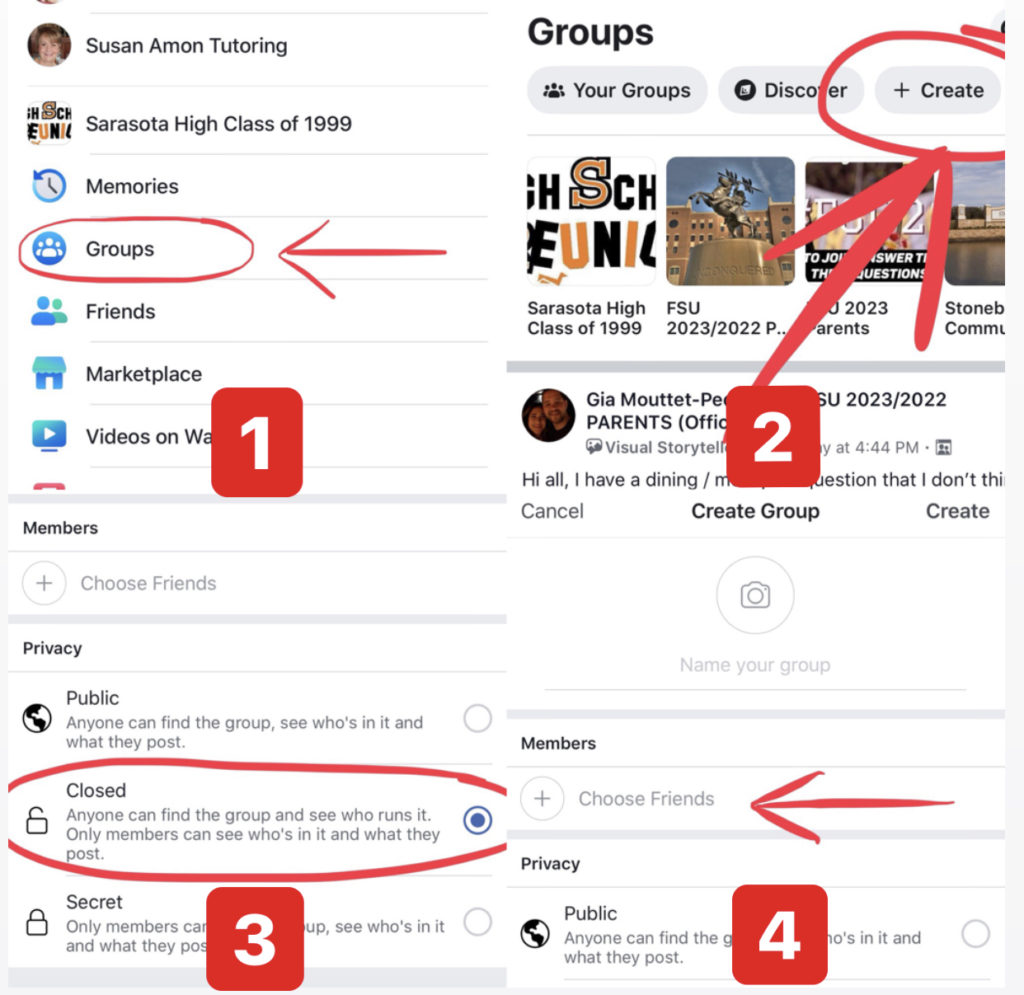
Tip: After you carefully scroll through your friend list and invite everyone you went to high school with (this is much harder than it sounds), go grab your yearbook and flip to your class. It’s tedious, but necessary— friend request every single person in your class. Then, add them to the group page once you are notified they have accepted your request.
Create a welcome post and ask the group members to invite any alumni they are Facebook friends with to the group page (because not everyone will accept your friend request!).

Time to create a committee!
Once you have a large group of members on the page, ask who wants to be a part of the planning.

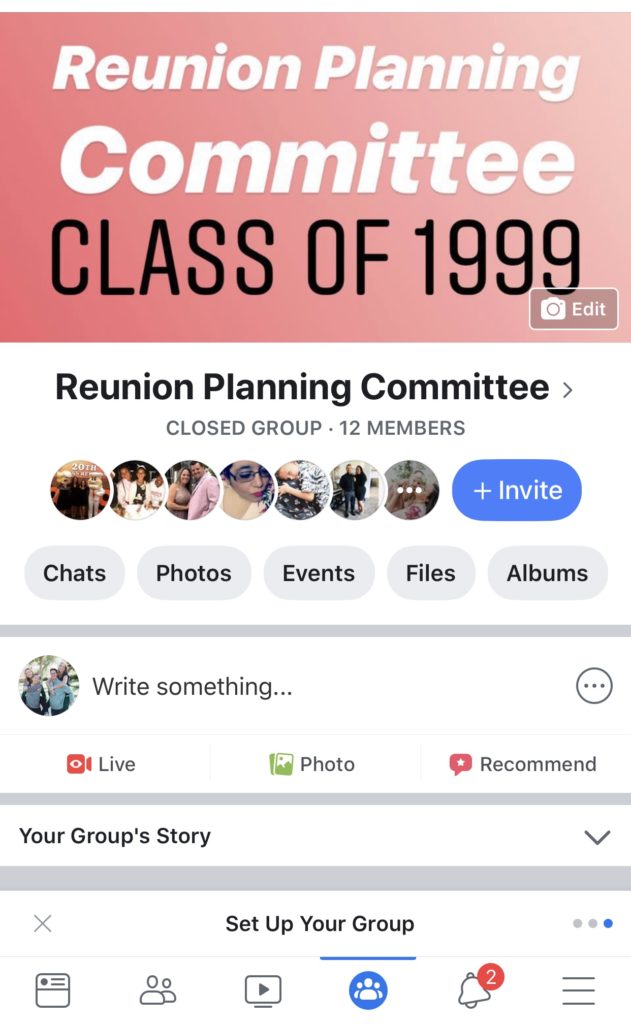
Create a second Facebook page exactly like you did for the main reunion group, but only invite the alumni who want to volunteer their time.
Be sure to label the Committee Group Page “Planning Committee” so members of the committee don’t confuse it with the main reunion page.
Choose a Date (or two!)
Pick two dates that are ideal and make the final date decision based on venue availability. Check with key people on the planning committee and make sure they are available for the dates you decide on.
Begin Steps to Determine Ticket Price
Make sure you can afford everything your party deserves and do some research so the numbers make sense.
First step: Predict how many people will actually come.
How do you do that? Find out how many alumni attended the previous reunion (if applicable). Otherwise, look up how many students were in your graduating class.
Expect attendance numbers to drop about 20-30% each reunion. Just an example:
- 150+ guests at 10 Year Reunion
- 105+ guests at 20 Year Reunion
- 84+ guests at 30 Year Reunion
You can also create a poll on your Facebook group page to get a feel for how many are interested in attending. Don’t get scared if the numbers seem low – not everyone votes. If you get 30+ people that say yes early on, you are in good shape.
Remember most people bring a plus one, so 30 yes votes is close to 60 guests!
Once you come up with a target range of prospective attendees, it’s time to research venues!
Seek out the Planning Committee for recommendations and help visiting out of town venues.
One person needs to be in charge of keeping all of the quotes in one spot for easy comparison.
Also, make sure the number of guests is the same on each quote to ensure you are comparing apples to apples.
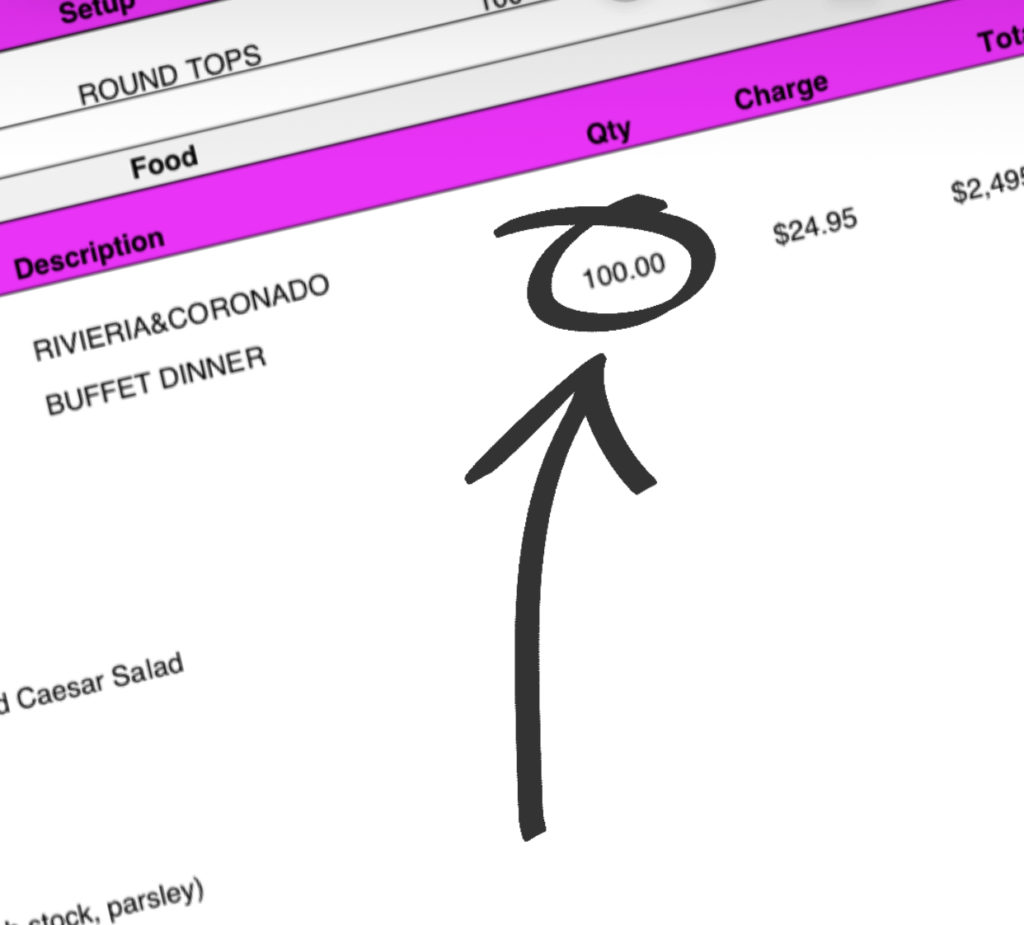
Check availability for venues that catch your eye and ask about their deposit policy. Remember, ticket sales are your revenue for the event so you will need a low deposit to secure the venue in advance!
Tip: Deposits are negotiable, especially with a school reunion. I’ve seen $1500 deposits drop to $500 and $500 deposits waived. It never hurts to ask, just remember to smile while you’re on the phone. They can “hear” it! 😁

Make a decision! Once you find a venue that you feel comfortable with and you have the thumbs up from fellow Planning Committee members, let the venue know you are planning on booking them. Don’t wait until you have enough ticket sales.
Ask the venue to pencil you in and notify you if there’s interest while you sell tickets for the deposit.
Create a relationship with the events coordinator and touch base periodically.
Don’t lose that venue! 😉
Don’t be tempted to pay for things and then reimburse yourself – I’m not saying it will never happen, but it needs to be kept to a minimum.
Commit to a Ticket Price (time to do that math we said we would never use in high school)
Now that you’ve figured out your target goal of attendees and have a venue quote, you can finally nail down that ticket price.
I’ve planned parties before with photo booths, printed decor, a DJ, etc. so I estimated the costs of those add ons based on previous events.
Below is just a guide for you to use when planning your reunion, but remember to do your own research and plug those numbers in to get an accurate idea of cost.
- Venue Rental Cost ($500) *yes they exist!
- Food Cost ($800)
- Table/Chair/Linen Rental ($350)
- Photo Booth Cost ($400)
- Estimated Alcohol Cost ($800)
- DJ ($300)
- Decor ($550)
- Party Favors ($300)
Things to be donated: cookies, cupcakes, mini bottles for shots, candy/snacks for snackbar, banners from your high school, hand made signs, hand made decor, memorial table items, solo cups, napkins, plates, and coolers.
A $40 ticket price would cover costs nicely and still be affordable for a prediction of 100 guests. It’s nice to give a discount for couple tickets. We did $40 single/ $75 couples.
Create a Reunion Email
This will be one of your easiest tasks! You can do it from your phone while you sit in the pick up line at your kid’s school! I used gmail.
Open a Business Bank Account
This task is a little trickier than opening a new gmail account.
I wanted all of the reunion ticket sales to go into a separate bank account that I could openly share with others.
I went to Regions Bank and they walked me through everything I needed to do.
First step: go to sunbiz.com and follow the instructions to start a new corporation/business. I chose the name Sarasota High School Class of 1999. I listed myself as President and two other classmates on the planning committee as Vice Presidents.
It costs $70 in fees to register and file (no need to pay the optional fees!)
This is one of the few times it’s appropriate to use your personal money and reimburse yourself later.
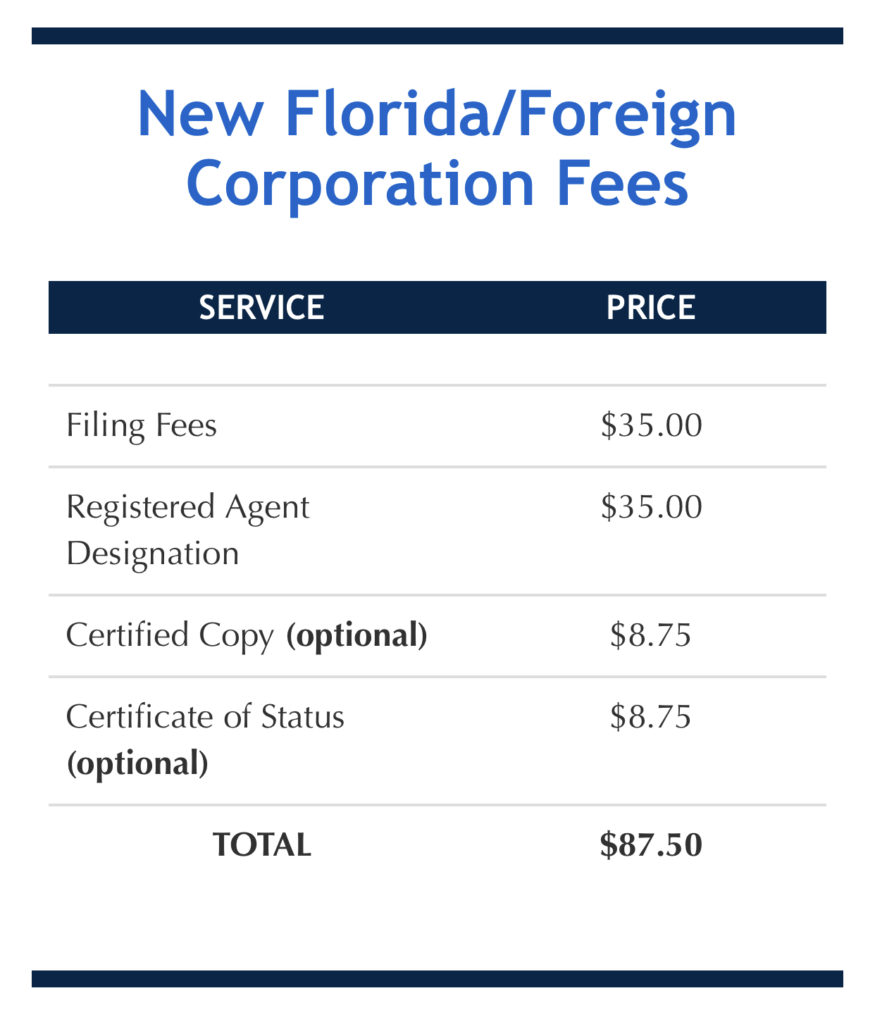
Once you have completed payment online, wait at least 24 hours for it to process and post before returning to the bank.
Be prepared to invest another $100 of your personal money as the required first deposit into the new business checking account.
I was issued a debit card in the name Sarasota High School Class of 1999 and a book of checks!
So official!
Create an Online Payment Link for Ticket Sales… it’s easy!
Payit2.com is incredibly easy to use and has a template made just for reunions.

You can make your payment page as elaborate or simple as you’d like. Below is an example of what you can do on the left and mine on the right:
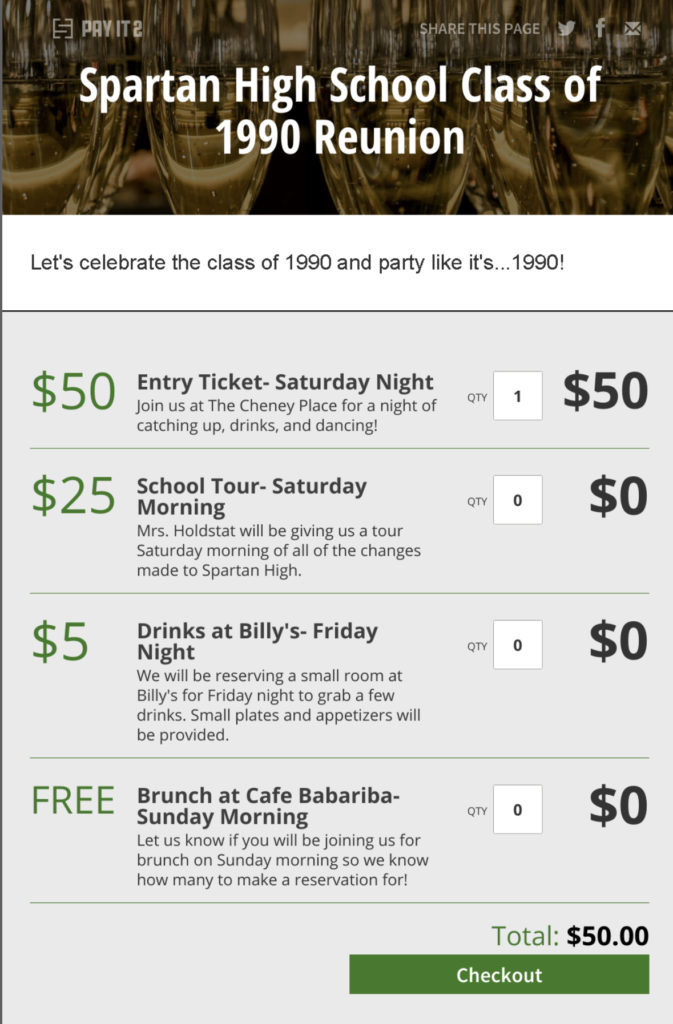
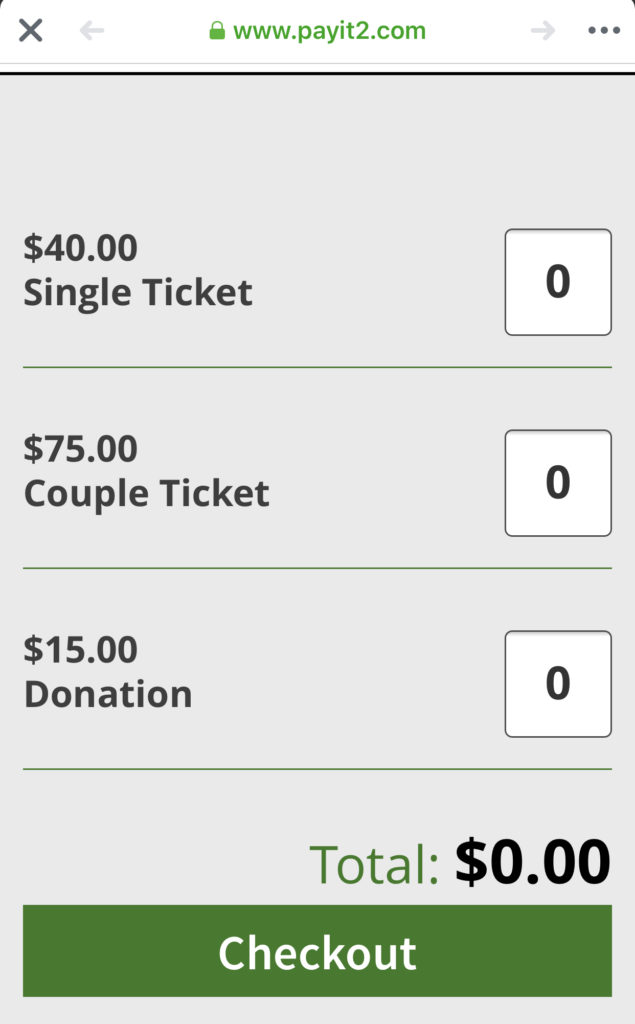
We included a donation line and used the funds to give free tickets to alumni.
Don’t forget to link your new business bank account with the payit2 account! Every time someone buys a ticket, the funds go directly into that bank account with NO fees!
So convenient and everything is tracked for you! You can even export data to excel for those who like that sort of thing!
It’s also a good idea to open a PayPal and/or Venmo account with the Reunion Bank Account. I had to use these several times to make deposits to vendors and give partial refunds when our ticket price changed and went down.
Now you’re ready to advertise the event! The excitement begins…
Create an event on the main reunion Facebook group with details of the reunion. You can always add more info to it later if you only have the venue and date nailed down.
Be sure to create the event in the main reunion group page (not accidentally on your personal page like I did at first!)
Communicate with everyone that they should ONLY click “going” to the event AFTER they have paid for their tickets through the link.
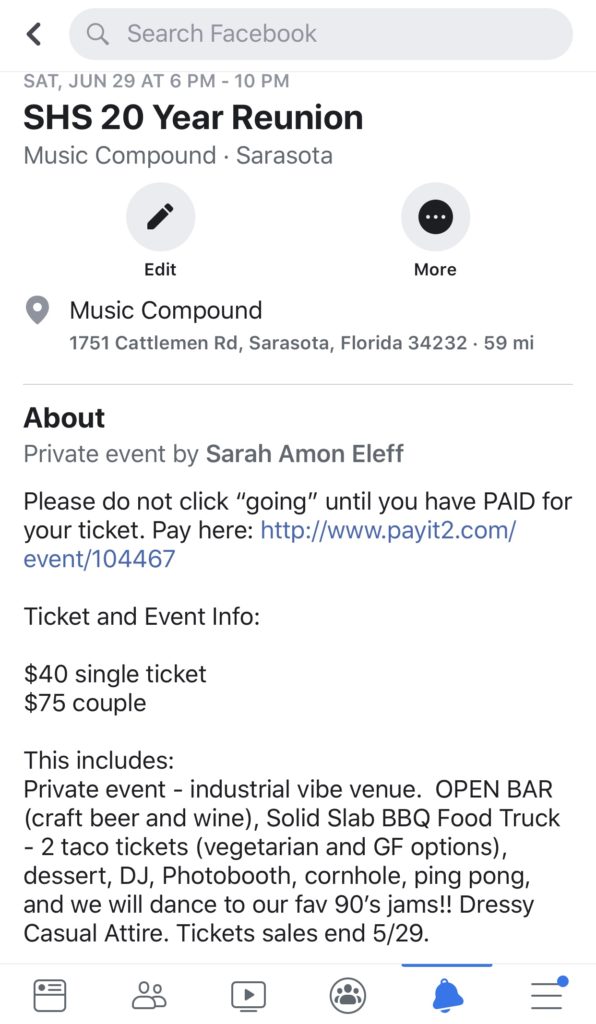
Request Early Ticket Purchases for Venue Deposit
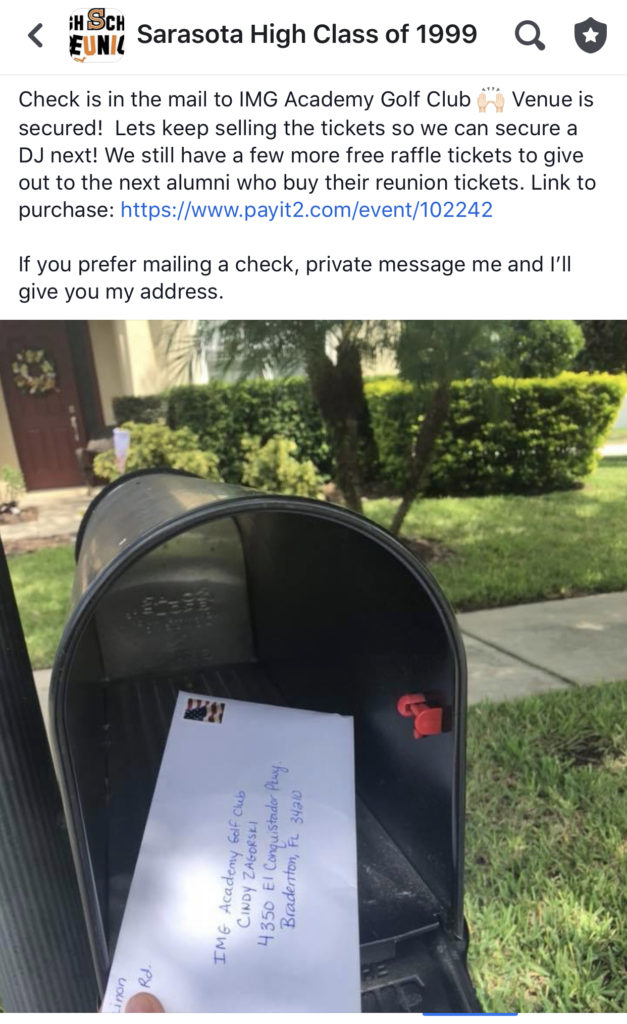
Figure out how many tickets you need to sell to make the deposit payment and post it in the Facebook group. You’ll be surprised how many people will step up and buy their ticket early to make sure the deposit is met.
Your high school alumni won’t let you down if you have a clear plan and are specific with your requests!

Keep Everyone in the Loop!
Share exciting milestones as they happen on the Reunion Facebook page early on. It will keep the momentum going and show alumni that the party is still on and motivate ticket sales.
Start Selecting Vendors and “Extras” to Make the Night Special
First up: Food. This is a huge expense. We tossed around lots of catering ideas, but the final decision was a food truck which was perfect for our event/space.

It was affordable, tasted great, and allowed staggering of food distribution so everyone didn’t have to sit at the same time and could eat when they wanted. Also, it just meshed with the vibe of the venue which was industrial and laid back. Pick what works for your venue and the vibe you want to create!
Thanks Solid Slab BBQ for a successful catering event! I had multiple texts/messages asking for the name of the food truck so they could eat the delicious tacos again!
I really like having another food option at parties besides the main meal. Something fun!
This can be a popcorn machine, cotton candy MACHINE, sno cones, candy bar, etc.
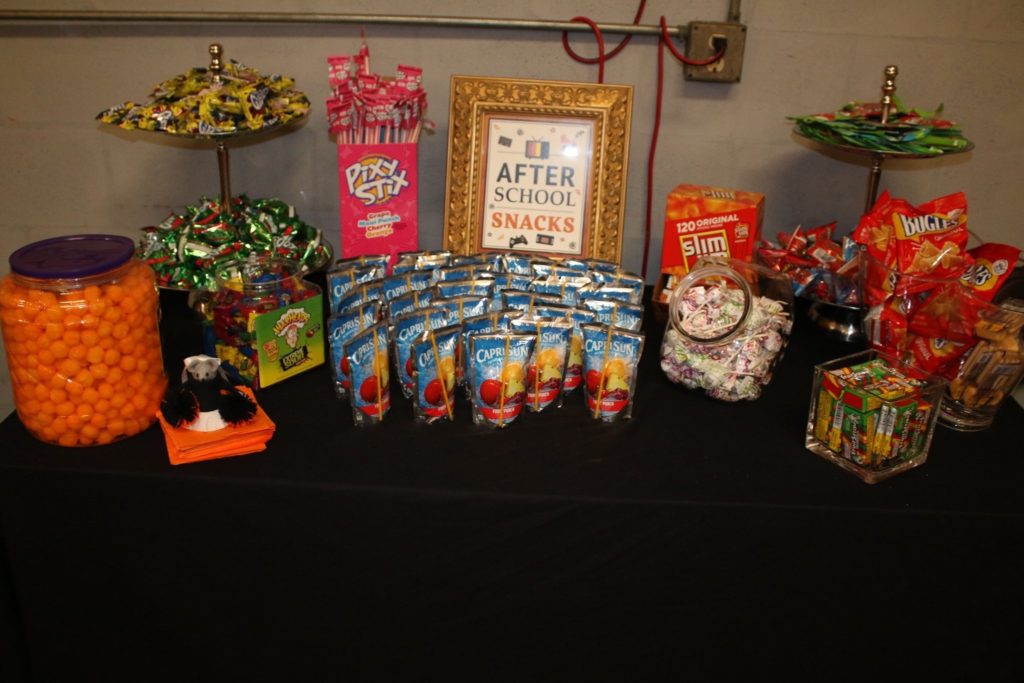
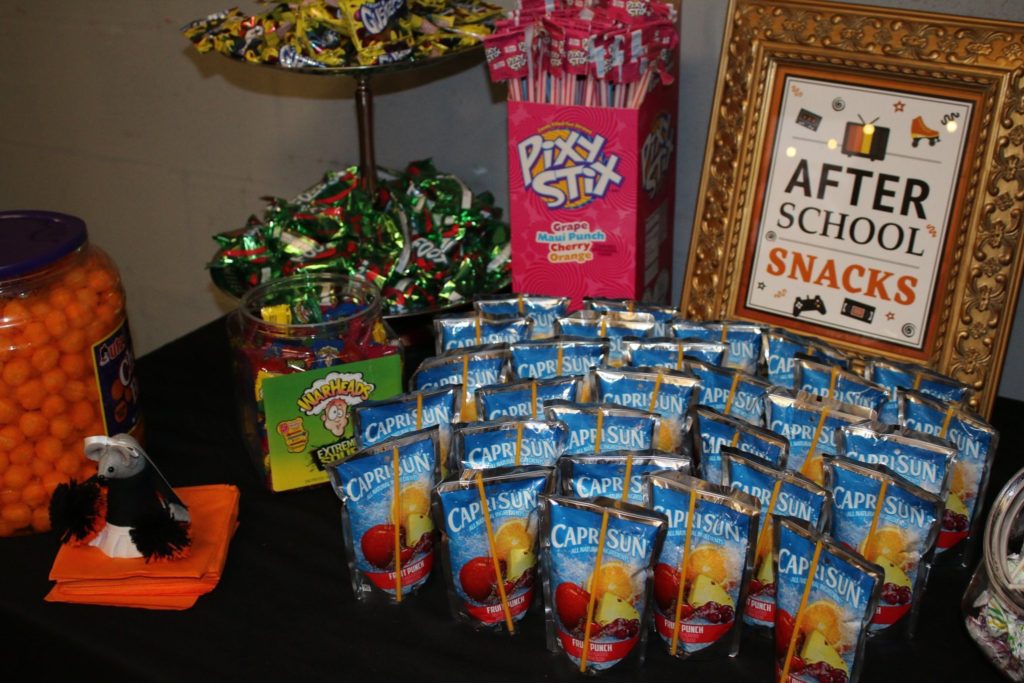
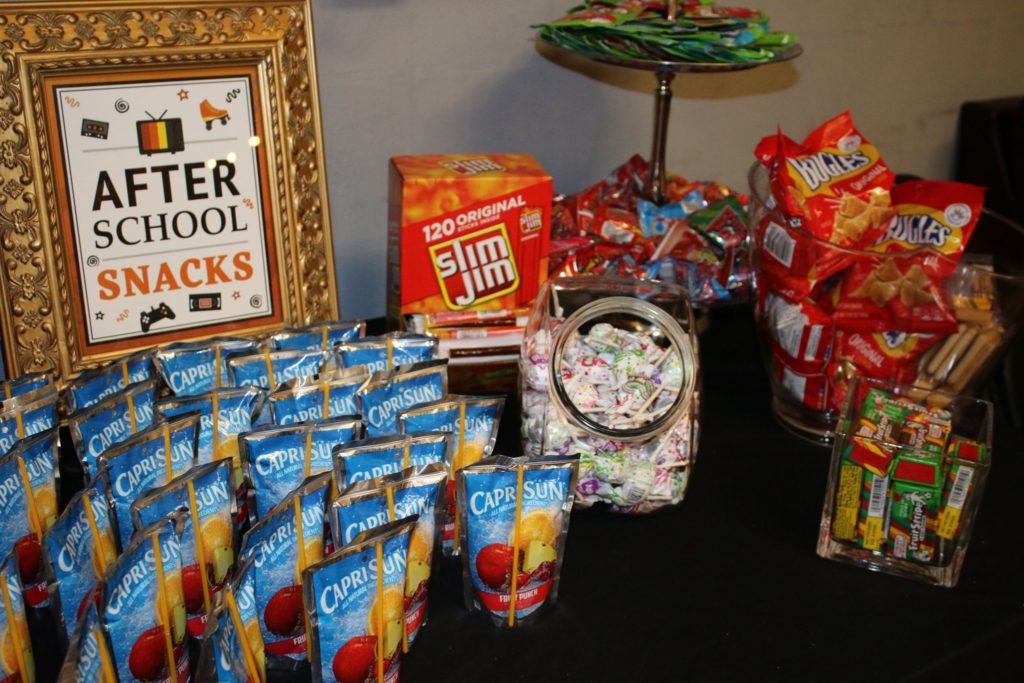
We had an After School Snacks table full of our favorite 90’s snack foods!
A great way to get donations for the candy/snack table is to create an Amazon Registry!
100% of our After School Snacks were donated by alumni who both attended AND those who were unable to attend, but wanted to contribute! Our graduating class is awesome.
Make it easy for people to donate and share your registry link on the Facebook group!
Photo Booth!
Invest the money into this added extra at the reunion. It’s so much fun and offers another type of favor to bring home. All of the photos were available the next day online, too… just in case your night was as fun as ours and you lose your photo!
Social Light Photo did a fantastic job with our event, highly recommend!
Notable Awards
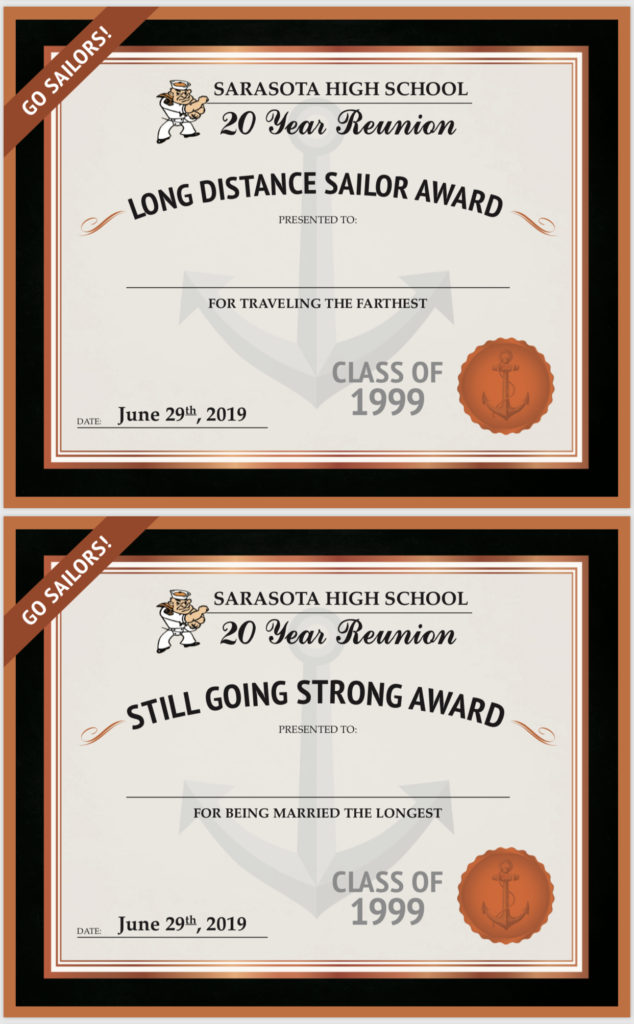
Remember voting for Most Likely to Succeed, Best All Around, Most Athletic etc. during senior year of high school? At our reunion we voted for “20 Year Reunion Notables”!
Here are the awards:
- Fountain of Youth Award for both male and female (looks most like they did in high school)
- Single Ken and Barbie Award (for most eligible bachelor and bachelorette)
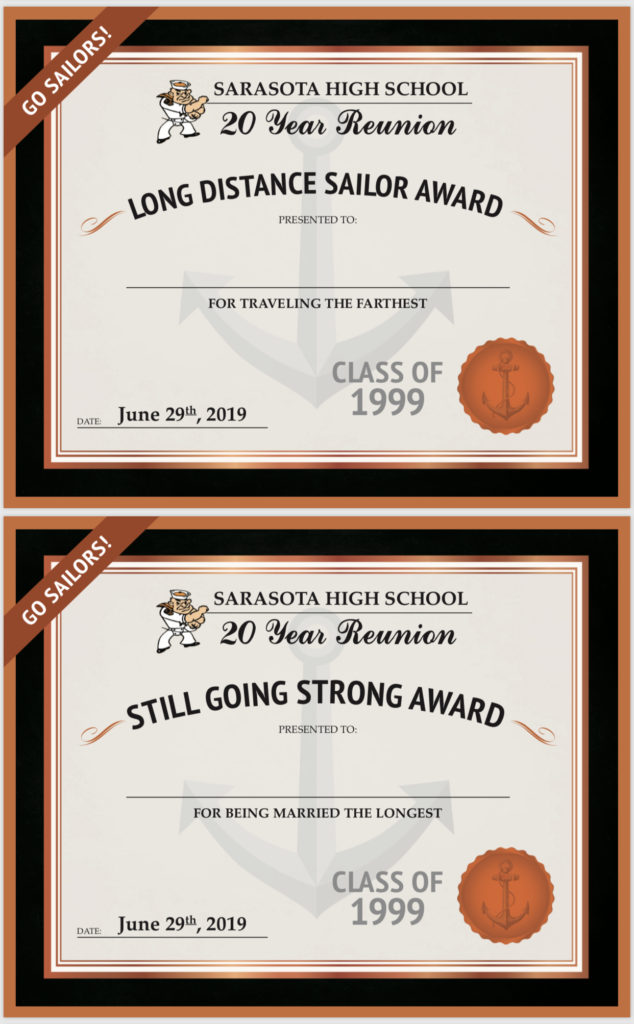
- Long Distance Sailor Award (traveled the farthest)
- Eager Beaver Award (first to buy ticket)
- Tortoise Ticket Buyer (last to buy ticket)
- Appreciation Award (alumni who served our country)
- Most Surprising/Interesting Career
- Married the Longest
- Reunion King and Queen

Set up a voting station for awards that are opinion based.
For awards that are based on information you can gather prior to the reunion, set up a survey on SurveyMonkey.com and email it out to ticket buyers.
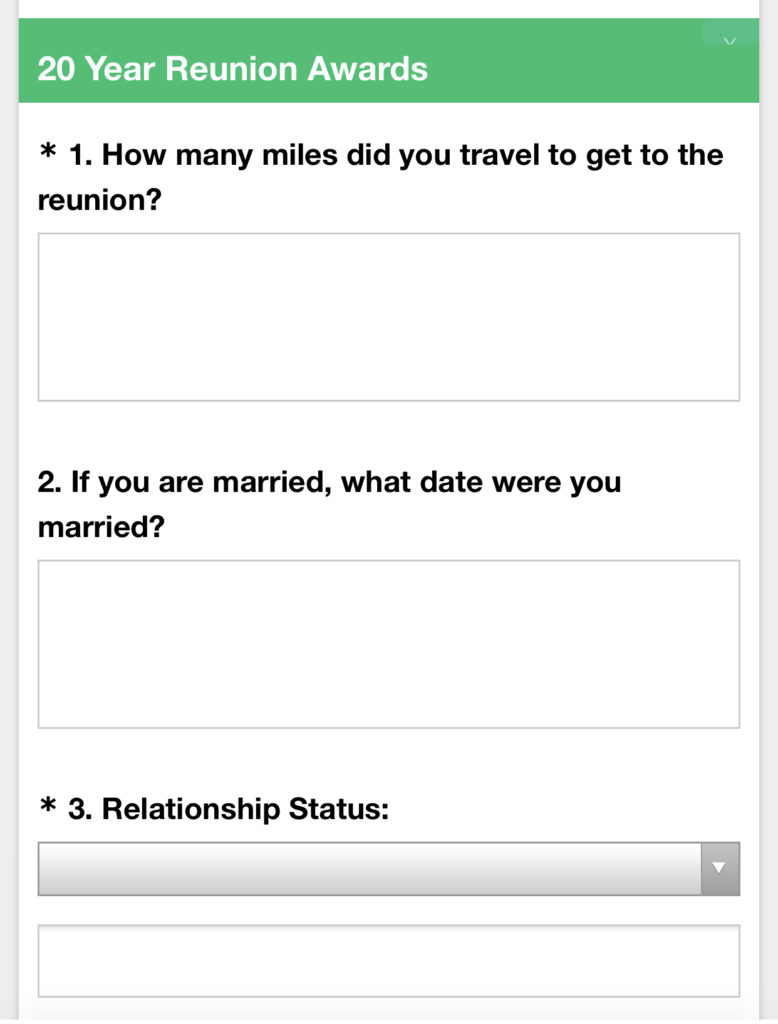
Have two people assigned to give out awards and alternate on the mic.
Memorial Table
Honoring the alumni that are no longer with us is important to their friends and family.
Reach out on the Facebook group and ask for help identifying those who have passed.
Also ask for pictures of these alumni from their friends.

There are lots of different ways to honor your friends. Below is the beautiful table with everyone’s picture from our reunion. I included note tags to write messages and memories of our friends and large branches to hang them on during the night for others to see. Later these will be shared with their families with a picture of the table.

Party Favors
We graduated in 1999 and one of the cheap booze back then was Boone’s Farm Strawberry Hill that we all had one time or twenty. Although it’s not stocked in stores— it can still be ordered! I didn’t blink and put in our order!

Music
We opted for a DJ which was perfect for our event! The 90’s hip hop jams blasting through the night had everyone lip syncing at some point!
Alcohol
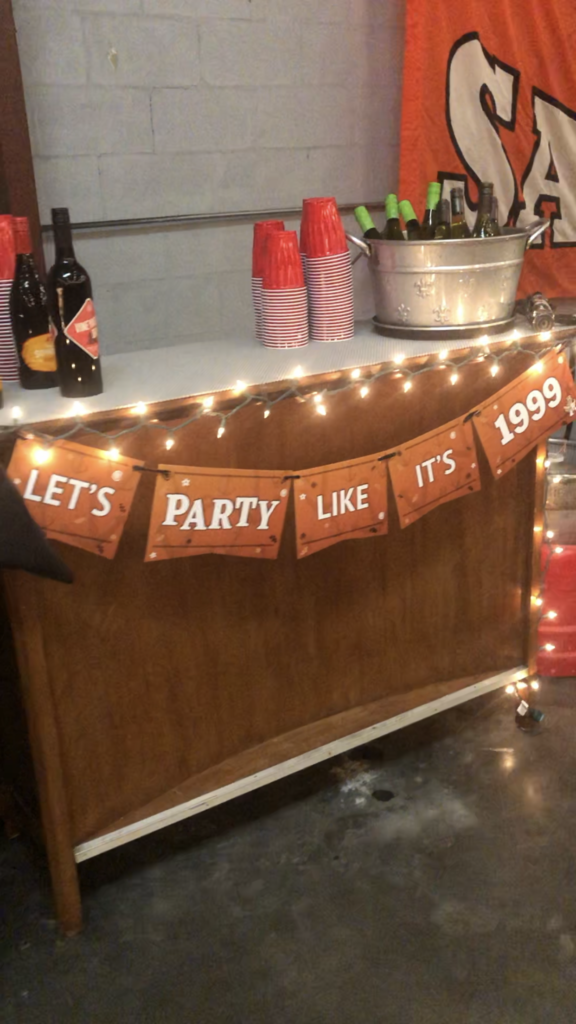
Our venue had limitations on allowing a bartender, but we could supply the alcohol. I was nervous to go this route at first, but a good friend and lead on the planning committee has experience with self serve bars at events so I went with it and I think it really worked!
Tip: My friend gave me advice to only buy wine bottles with screw off lids. This makes it SO much easier with a large party. Thanks, Eileen!
I made an appointment with a staff person at Total Wine to help me select all of the wines. She explained all of them to me (and my mom!) and we basically always went with one of the top picks from customers/staff.
We did two different red wines, two different white wines, champagne, and two kegs.

I love to shop! 
Ask a friend to help! 
Don’t forget the ice!

Now is the time to really drive ticket sales. I’ll be honest, there were moments when I was scared no one would buy tickets. But I ignored that voice in my head like I do when it tells me to go do the laundry and I pushed on!
Some ideas to keep the buzz going:
- Post old yearbook photos
- Create collages with old photos for #TBT
- Do a Facebook Live tour of the venue
- Use iMovie to make a silly video reminding alumni to buy their ticket

Balloons
Don’t underestimate the impact balloons make to a party! We chose Balloon Elevations for our reunion. Keesha and her husband are incredible! They had everything up and decorated so quickly and it looked amazing! I just looked at her Facebook page and picked some things I thought looked nice. She worked within our budget and created before our eyes 2 spiral balloon columns, and 8 hanging balloon clusters with one spiral large cluster hanging in the middle.

Name Tags

Now is the time to start gathering yearbook pictures of everyone who is attending the reunion. This is another tedious task, but oh so worth it.
Use your excel spreadsheet of attendees exported from Payit2.com. Work your way down the list– as you find pictures crop & save them, then highlight their name on the spreadsheet so you can visually see how many pictures you still need to track down.
Create a separate photo album in your phone titled “reunion” so all of your photos are in one place.
Something I would do differently to streamline this process would be to add a question on the Payit2 link asking guests what name they would like on their nametag. I used Facebook as my guide and messaged people as needed, but adding this question would have been easier.
Contact Kara with Paper Party Design Ink and give her your vision. She will not disappoint! I’ve used her for multiple parties now and she is incredible!
Kara with Paper Party Design Ink created all of these other amazing little extras in addition to the name tags:
Use Your Resources!
We borrowed when we could. The table runners were from my wedding!

The banners were from borrowed from Sarasota High School!

Fireball shots really got the party going!
Lots of the containers for the candy bar and voting booth were borrowed as well!
Find a Bad Ass Speaker to Give a Speech
I messaged our Class President and asked if she would be interested in speaking at the reunion. She immediately accepted my request and delivered such a meaningful, funny, on point speech to our graduating class it gave me goosebumps. Reading it over again made me appreciate it even more. Thank you, Diana!
Desserts


We did cookies and cupcakes! Both were donations from amazing alumni!
Security
We might not have needed security 20 years ago, but you just never know now. It was a small price to pay to have a little more safety. We had two security officers that I spoke with before the event and explained what was expected. They did a great job!
Picture Opportunities
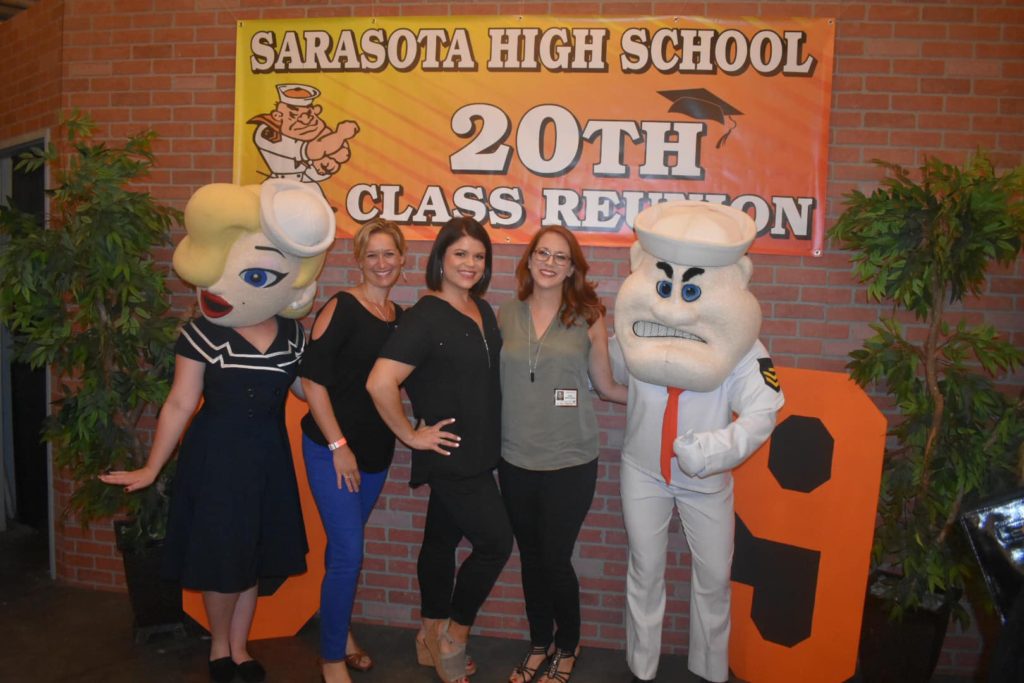
Who doesn’t love taking pictures? Aside from the Photo Booth, set up an area where people can pose! I purposely left the year 1999 off the banner so we can share it with future classes!
Does your school have mascots? Contact the school and see if they can attend your reunion!
Our mascots were so much fun! They walked around, danced, and were a fun addition to the party!

It’s crunch time! Time to confirm arrival times with vendors, finish paying for any outstanding invoices, and remind everyone that the deadline to buy tickets is here!
Why is it necessary to have a cut off for ticket sales? Why can’t people buy tickets at the door?
This was a popular question I received numerous times. It is absolutely necessary to have a deadline for ticket sales because of the amount of planning it takes for each individual person.
I did make a few exceptions after the deadline for folks who had special circumstances, but you need the majority of the guests to register a minimum of 4 weeks before the event.
Each time an alumni paid for a ticket past the deadline it required me to:
- go back into the spreadsheet and add their name for check-in
- find their yearbook photo then crop/edit it
- email their photo to the printing company for a name tag
- add a party favor order for them
- consider them for one of the notable awards
- find pictures of them for the slideshow
- contact the food vendor and change the headcount
Can you see how this would be overwhelming? Not to mention the food vendor, printing company, and favor orders all had deadlines of their own I needed to meet!
Gather all of the pictures and make a slideshow!
Request photos of high school days and have them sent to the reunion email account. Create a slideshow on iMovie or any slideshow app you are comfortable with. Show this during the reunion after the Class President’s (or whoever you choose) speech. You can continue to have it played on a loop during the night!

Prepare as much as you can in advance!
Make set up as easy as possible and have everything prepared.
- Tie tags on party favors
- Get check-in station in order
- Put decor items in bins grouped together and organized in one area of your home
- Reach out to committee members and see who can help set up
- Get any checks written and put into labeled envelopes to easily pay vendors
Check-In
This is an important piece of organization.
We had an open bar at our reunion and needed to make sure only the paying guests were drinking the alcohol! I bought orange wristbands from Amazon and initialed them. This allowed security to easily identify who should be there.
We used a food truck and needed to control how much food was going out (2 tacos and a side per person), so we distributed food tickets!
I put each attendee’s wristband, 2 tickets, and name tag in an envelope and labeled it with their name. If they paid for a plus one I included the same items inside the alumni’s envelope for their guest.
All of the envelopes were in alphabetical order by first name to avoid confusion since many people have new last names.
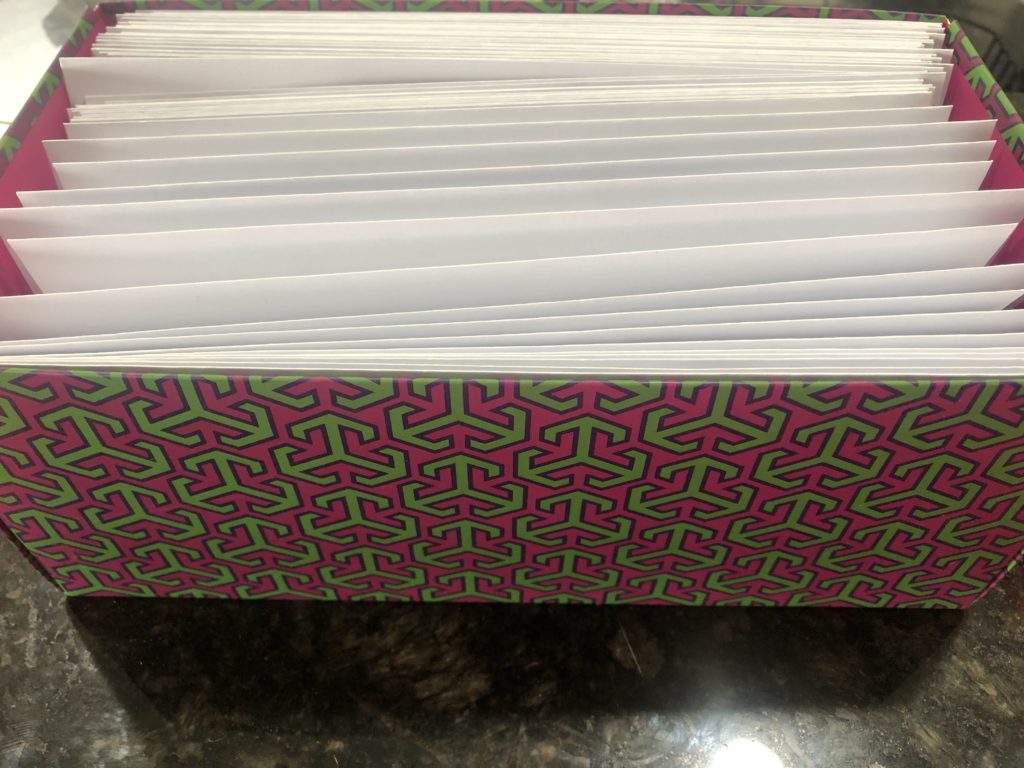
The envelopes fit perfectly in a shoe box, ha! 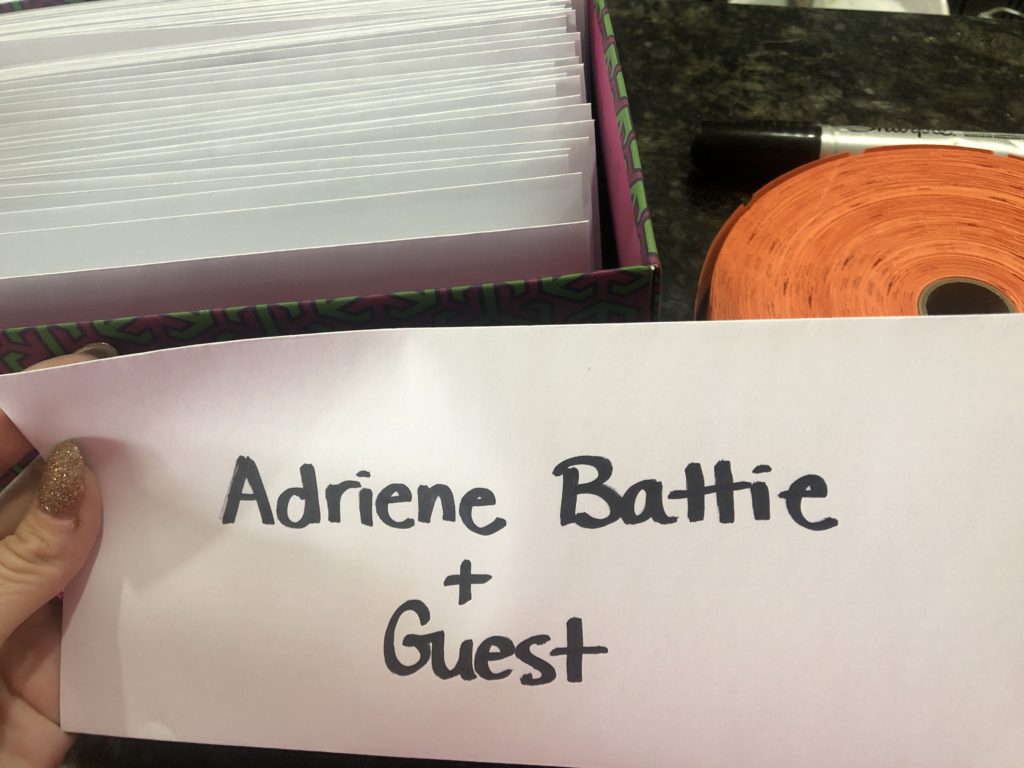

Our reunion’s awesome check-in team!

Set Up
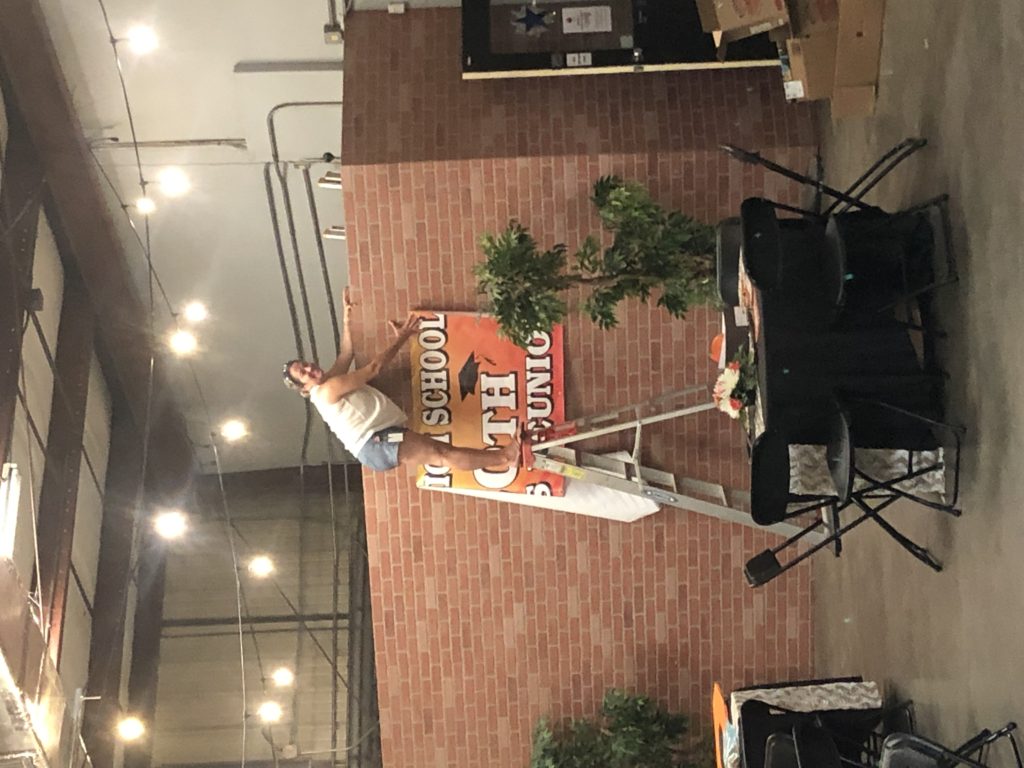
Ask for volunteers to help set up the venue! Have a list ready of things that need to be done. Wear comfortable shoes!
Be prepared for a long day. Try to take breaks and not wear yourself out for the party!
HAVE FUN!!!!
Enjoy these moments reconnecting with people you grew up with. Life is so so busy. Slow down and have a shot of fireball!
